What personalized wedding favors can you hand out to your guests?
- Polaroid coasters
- Wine cork keychains
- Small paper rose bouquets
- Glitter wine bottles
- DIY instant hot chocolate mix
- DIY heart-shaped birdseed feeder
- Cocktail kits
- Scrabble magnets
Filipino weddings are grand celebrations that symbolize the matrimony between two soulmates. The families of these individuals go all out as a show of support for the couple. It might not be always the case, but some would offer to pay wedding needs that would include the venue, the entourage’s attire, and the food from a Manila catering service.
This is such a huge relief for the couple, particularly those that are trying to get thrifty. They would only have to worry about the other items like the host, the music, and their wedding favors.
For the last one, they would be able to save more money if they decide to DIY them. This is probably the best approach especially if you want something personalized.
Below is a list of wedding favor ideas that you can do on your own.
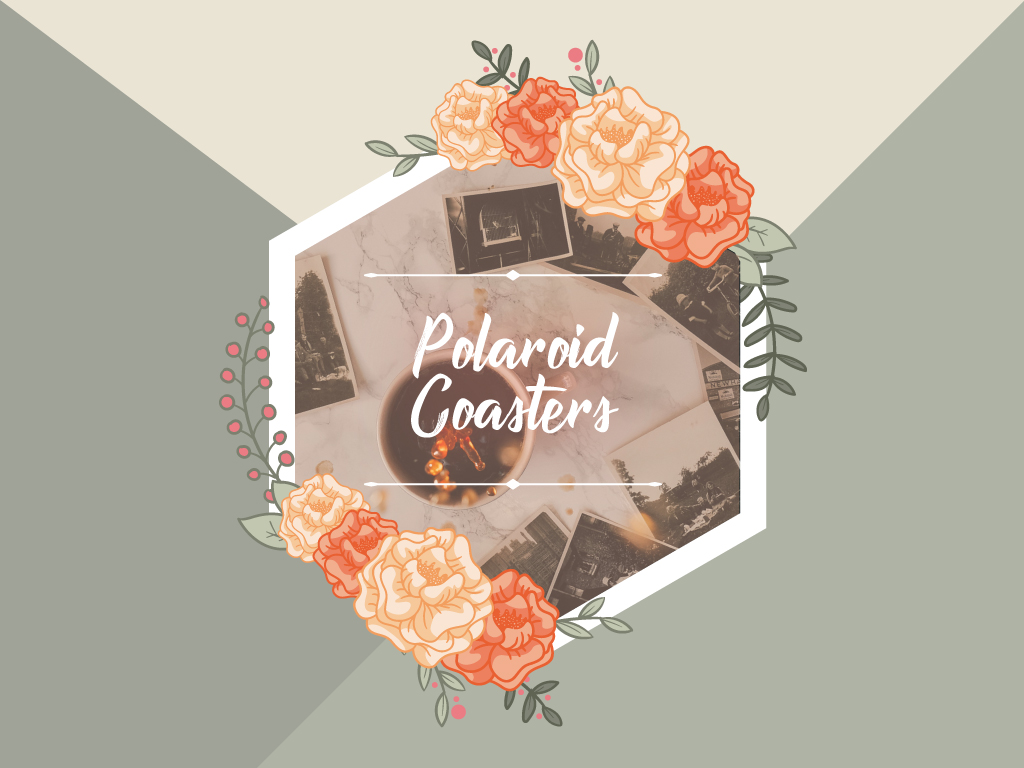
Polaroid Coasters
Your wedding photos can be turned to your guests’ coasters whenever they want a warm coffee in the mornings or perhaps a cold soda during the warm afternoons.
Follow this set of instructions from Lillies and Loafers:
Materials:
- 4×4 inch pictures
- 4×4 inch ceramic tiles
- Mod Podge Glue
- Paint Brush
- Circular Felt Pads
- Water Proof Sealant
Directions:
- Begin by painting a layer of the Mod Podge glue onto the tile.
- Press your chosen photo firmly on the tile and leave it to dry for a few minutes.
- Coat a layer of Mod Podge over the photo and let it sit for approximately 20 minutes.
- Apply more of the Mod Podge – 2-5 layers of glue.
- Leave to dry overnight or for a few days then spray with a thin coat of sealant.
- Apply the circular felt pads on the bottom of the tiles to provide more grip for the coaster.
- Repeat the steps to make the coasters.
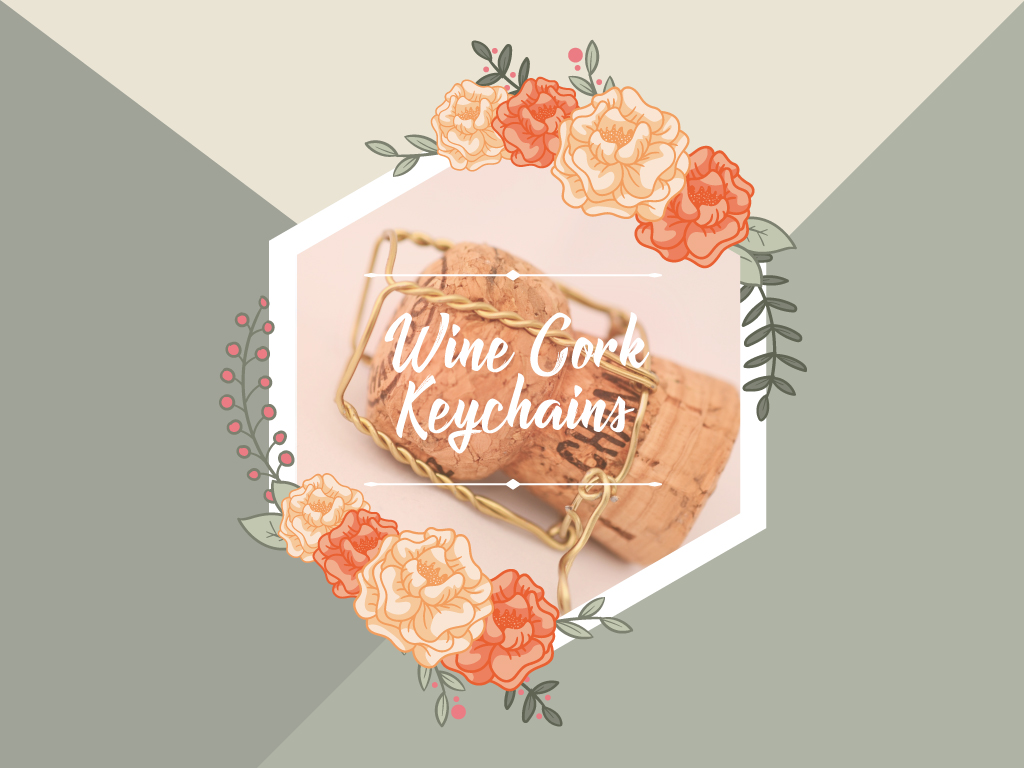
Wine Cork Keychains
These keychains from Cleverly Inspired are an ingenious way of showing your gratitude to your wedding guests. They are also nifty pieces that can pass up for vintage themed weddings. Wine cork keychains are also very easy to make with inexpensive materials.
Materials:
- Wine Corks
- Keychain Rings
- Screw Eyes
Directions:
- Start by putting the screw eye on the keychain ring.
- Then, use a sharp object to punch a hole into the cork.
- Insert the screw eye to the cork.
- Finish it off by putting the labels onto the cork with personalized ‘thank you’ notes.
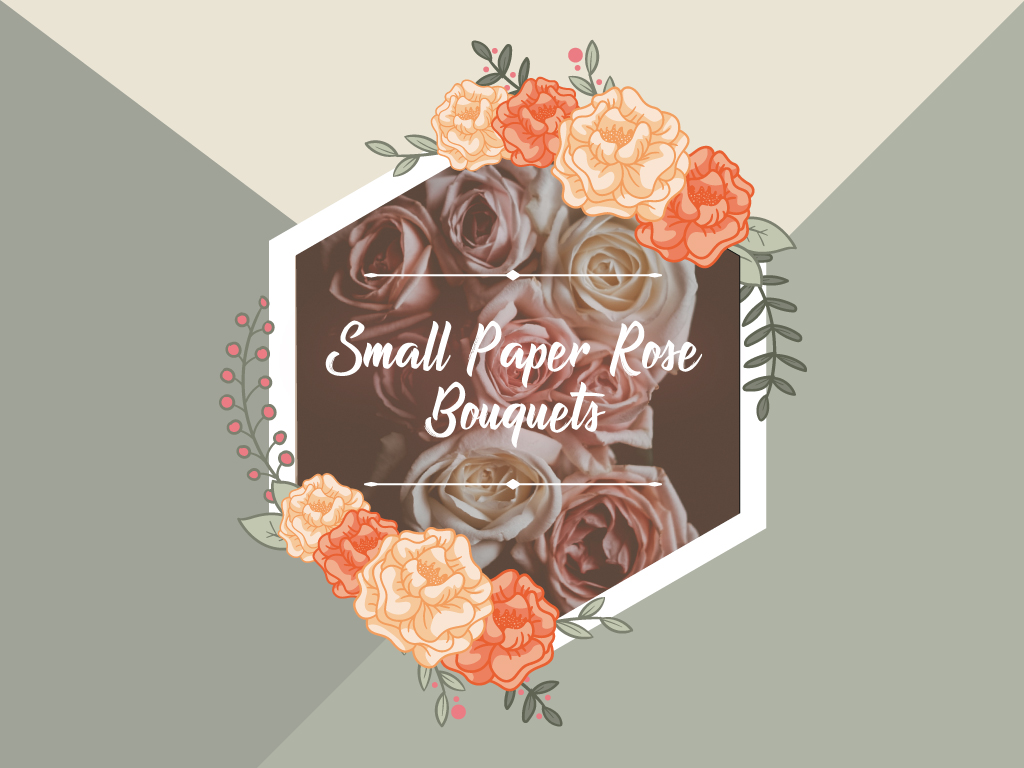
Small Paper Rose Bouquets
Flowers are a beautiful addition to any celebration and this DIY project by Lia Griffith will be great as pretty handouts for your guests. The elegant final product makes for a classy wedding favor that is sure to last just like the memories that everyone in attendance will have.
Materials:
- Scissors
- Hot Glue Gun
- Floral Wire
- 2 Yards of Ribbon
- Floral Tape
Directions:
- Use the edge of your scissors in trimming the rose petals and leaves. Then, curl 2 corners of petals and edges of the leaf.
- Proceed to fold the leaf in half.
- When you have finished making 4-6 petals, attach them to the petal edge to form them into cones.
- Fold 1 inch of the floral wire and start gluing it to the edge of petal 1.
- Roll the petal around the floral wire center then curl it one edge back.
- Glue the bottom tip of the 2nd petal to the 1st petal and wrap it around as you adjust the curled edges as you do so.
- Repeat this step to the 3rd petal while rotating it to form a rose center.
- Skewer petals 4-7 to the wire stem. Then, glue each of the petals to the center base. Continue rotating the petals.
- Glue the stem of the leaf to the floral wire then use a floral tape to wrap the stems of the leaves and the rose center.
- Repeat this step and make as many roses as you desire.
- Then wrap a ribbon around it to form a bouquet.
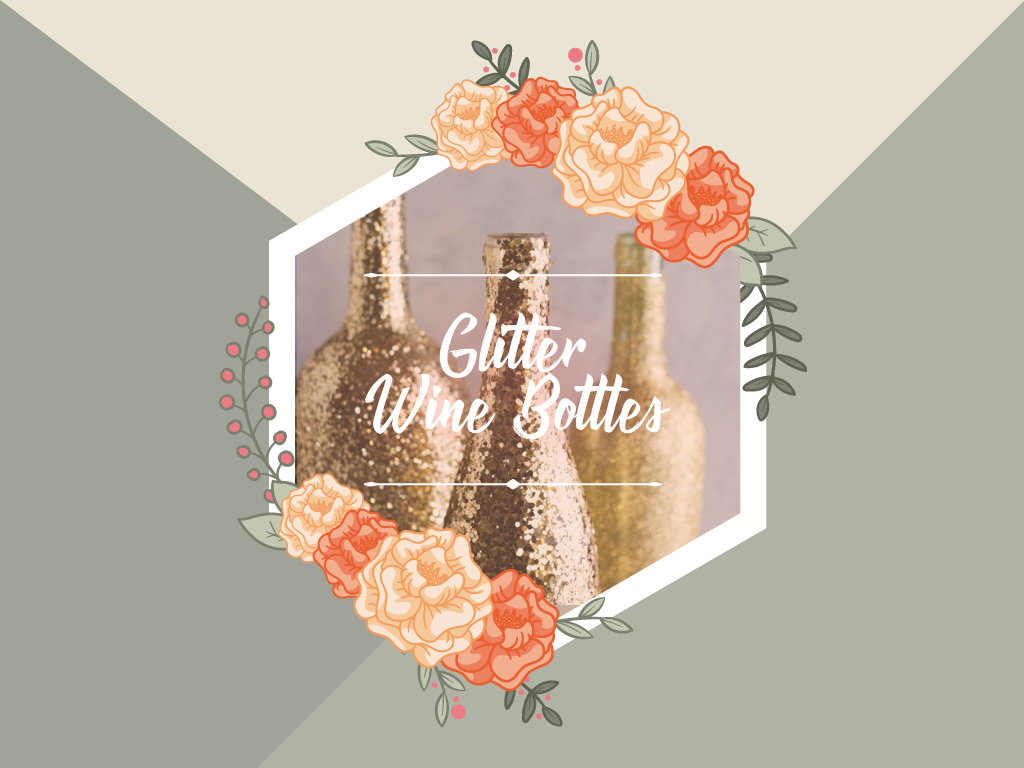
Glitter Wine Bottles
Food from a catering in Manila paired with the aroma of a great wine is pretty great right?
You can incorporate this DIY project from Something Turquoise into your wedding favors by giving out unique glitter wine bottles. Not only is it a stylish souvenir but it is also a way to thank your guests by giving them a fine drink.
Materials:
- Your choice of liquor bottle
- Elmer’s Glue or Spray Adhesive Extra Strength
- Gloss Enamel Finish in a Spray Bottle
- Tape with Design
- Glitter
- Puncher
- Scissors
- Ribbon
- ‘Thank You’ Tags
Directions:
- Start by taping the areas off of the bottle that you want don’t want to have glitters.
- Spray adhesive onto the bottle by going through it per section and quickly scatter the glitter where you want to attach it.
- When you are done applying the glitter, remove the tape.
- Seal the glitter coat twice by spraying the gloss enamel finish so you do not risk having the glitter sticking to everything.
- Use a ribbon or a twine to attach the tags onto the glittery bottles.
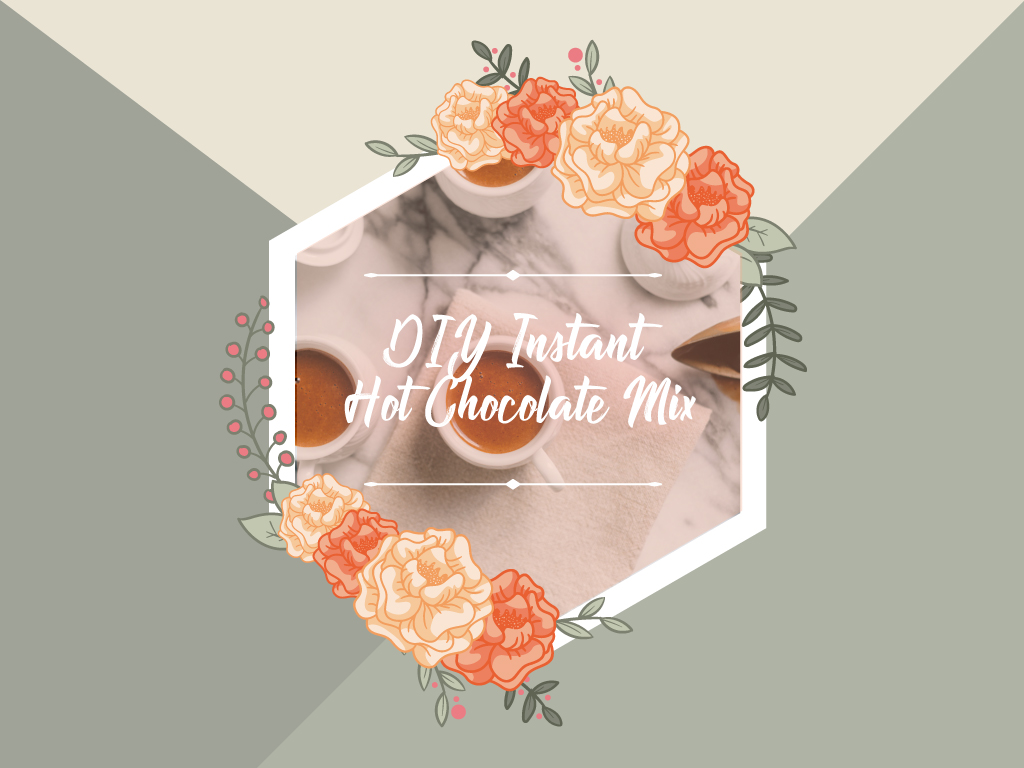
DIY Instant Hot Chocolate Mix
This perfect wedding favor from Green Wedding Shoes is best for weddings that take place during the cold or rainy season. A DIY Instant Hot Chocolate Mix is a great personalized favor that will surely be a treat.
Here’s how you can prepare it:
Materials:
- Clear glass vials with cork lids
- White Cardstock
- Scissors
- Basic Hot Cocoa Mix
- Edible Lavender
- Dried Orange Peel
- Chopped Cinnamon Sticks
- Chopped Dark Chocolate
- Teaspoon
- Hole Puncher
- Gift Tags
Directions:
- Fill the glass vials with the basic cocoa mix by ¾.
- Then follow it up with the rest of the ingredients of your choice. You can choose alternatives to the flavors mentioned here but you can also follow this step if you wish.
- Fill the vial with the dried orange peel and lavender. Then, follow it up with the chopped cinnamon sticks and use dark or milk chocolate to create an infusion of flavors.
- Then, use the gift tags and tie them on each vial.
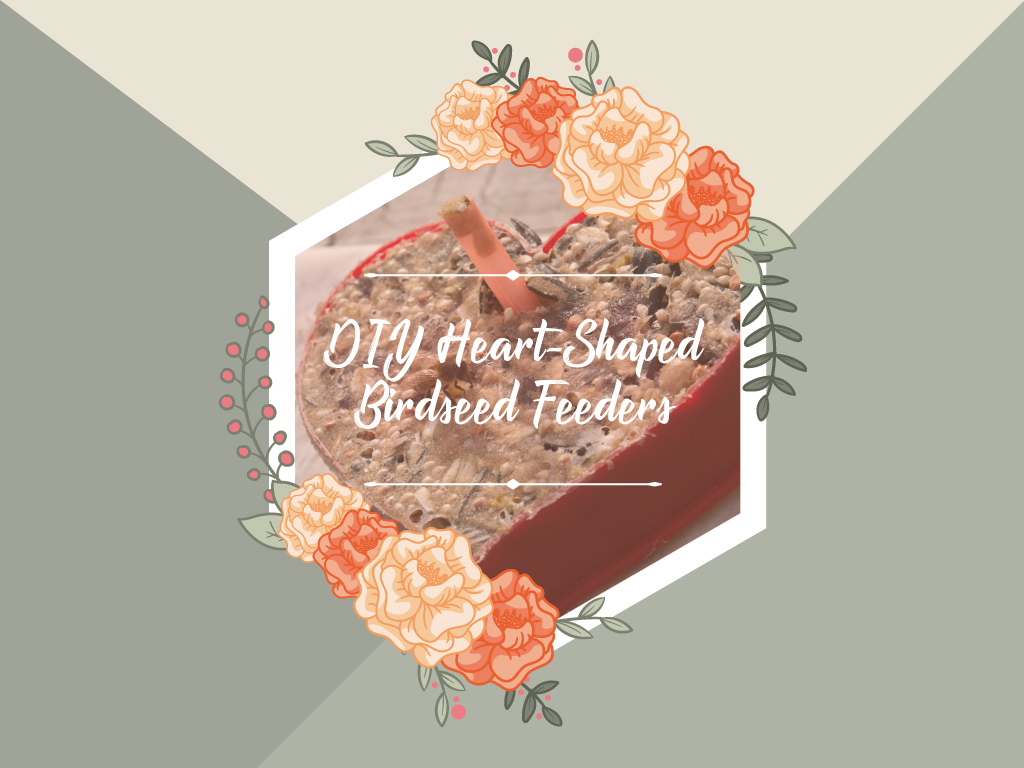
DIY Heart-Shaped Birdseed Feeders
Alpha Mom’s DIY Heart-Shaped Birdseed Feeders are an interesting and unique wedding favor that your guests will be delighted to receive. Seeds are symbols of growth and the start of something new which is perfect for a wedding souvenir.
Materials:
- 3 cups of birdseed
- 2 measures of ¼ ounce unflavored gelatin packets
- Cookie Cutters
- Twine
Directions:
- Proceed to make this DIY project by sprinkling two packages of the gelatin over a ½ cup of cold water. Leave it for a couple of minutes or until the water has absorbed the gelatin.
- Heat 1 ¾ cup of water in a pan. Then, add the gelatin mixture and stir until it is dissolved.
- Put in 3 cups of birdseed.
- Let the mixture cool until you have a thick gelatin that coats all of the birdseed.
- Wrap a piece of foil on the bottom and the sides of the cookie cutter then spray it with cooking spray.
- Pack the birdseed mixture on the heart-shaped cookie cutter then place a piece of straw in the mixture to leave a hole for inserting the ribbon.
- Allow the birdseed mixture to harden then remove it from the cookie cutter.
- Add the pieces of twine on the end product for hanging.
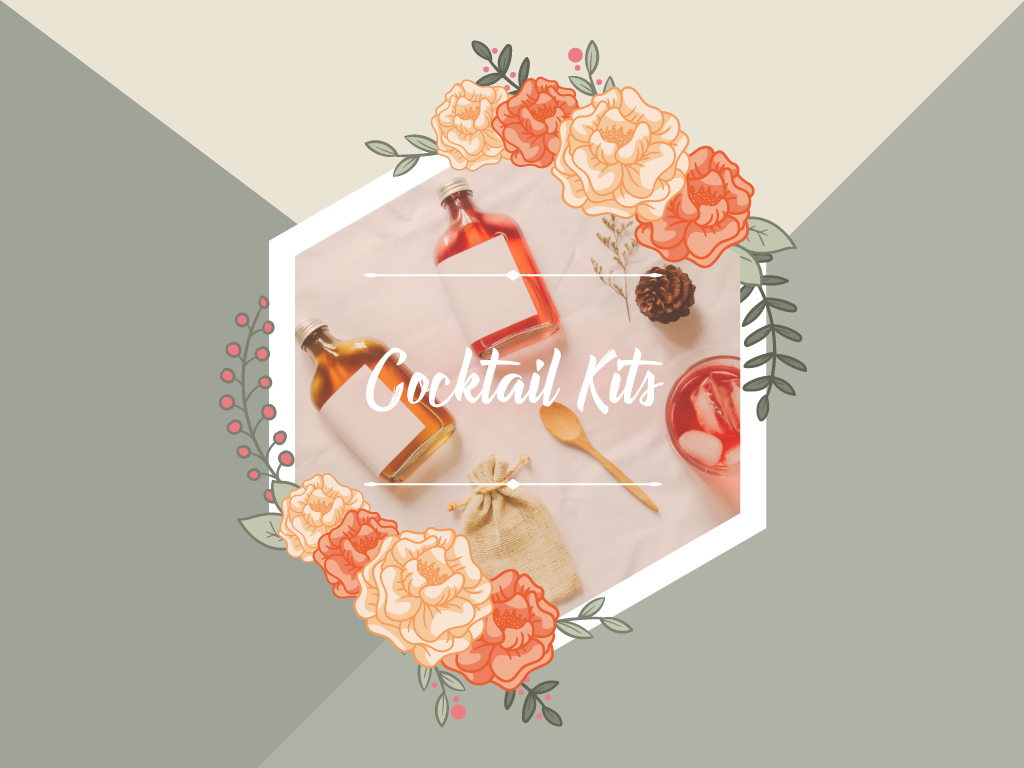
Cocktail Kits
Encourage your guests to celebrate your union by drinking in your honor with this cocktail kit from Distillerista. If you would rather have non-alcoholic drinks, then you can prepare an alternative beverage in place of the alcohol.
This would also be a great thank you gift because the cocktail kits are a great way to remember the night by capping it off with great drinks.
Materials:
- Decorative Straw or Mesh
- A stylish cloth napkin
- 2 or 3 mini bottles of liquor
- Twine
- Stick-on labels or gift tags
Directions:
- You can opt to place a larger liquor bottle or a cocktail shaker in the middle of your basket which will serve as a centerpiece item.
- Arrange the other items around the center item
- You can also add shot glasses, cocktail stirrers, straws, or coasters.
- Place the mini bottles in front and continue arranging them in a symmetrical manner.
- Wrap the basket in a decorative straw or a mesh paper.
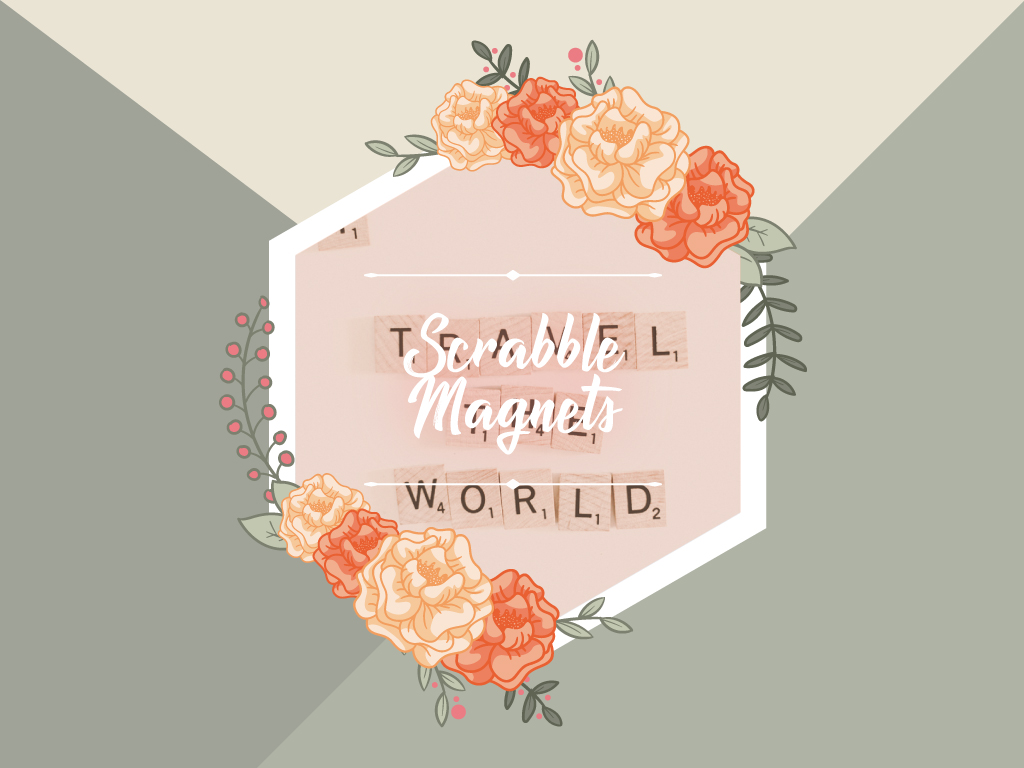
Scrabble Magnets
If you and your beau are fellow wordsmiths, this a great way to show that. It is also a fun little activity to unravel different words that you will give to the guests. They are also affordable to make and a cute appreciative trinket for all of the people at your wedding.
This is the procedure from Say Yes on how you can do it yourself:
Materials:
- Scrabble Tiles
- Magnetic Tape
- Small Box Cartons
- Hot Glue Gun
- Paint (optional)
Directions:
- Start sorting out the tiles to form words that you would want to give out.
- Add a personal touch to it by choosing words that have a meaningful definition for you as a couple.
- Paint the tiles to the desired color that you want but if you would want a minimalist and basic look, then you can skip this step.
- Cut small squares of the magnetic tape and make sure that they are smaller than the tiles.
- Paste them onto the back of the scrabble tiles with a hot glue gun.
- Arrange them into an intricate packaging with the color and ribbon of your choice.
Key Takeaways
These budget-friendly wedding favors are some of the options that you can consider as a gift of appreciation for your guests. These souvenirs are symbols of the memorable event that is your wedding so be sure to take some time making them.
Cheers!


